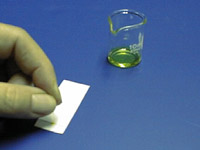
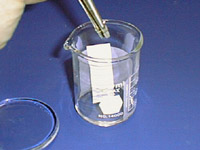
1. Prepare the developing container.
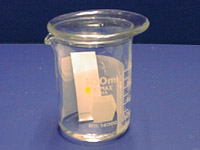
The developing container for TLC can be a specially designed chamber, a jar with a lid, or a beaker with a watch glass on the top:
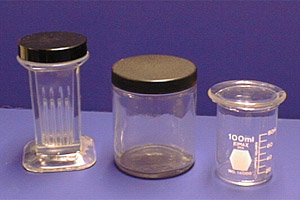
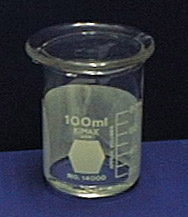
In the teaching labs, we use a beaker with a watch glass on top.

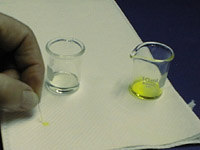
Pour solvent into the beaker to a depth of just less than 0.5 cm.
To aid in the saturation of the TLC chamber with solvent vapors, line part of the inside of the beaker with filter paper.
Cover the beaker with a watch glass, swirl it gently, and allow it to stand while you prepare your TLC plate.
2. Prepare the TLC plate.
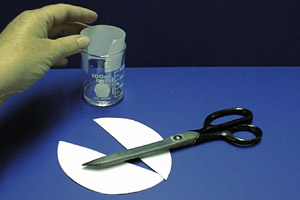
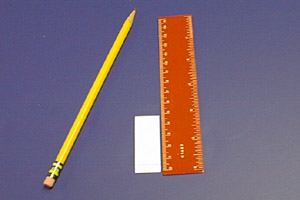
TLC plates used in the organic chem teaching labs are purchased as 5 cm x 20 cm sheets. Each large sheet is cut horizontally into plates which are 5 cm tall by various widths; the more samples you plan to run on a plate, the wider it needs to be.
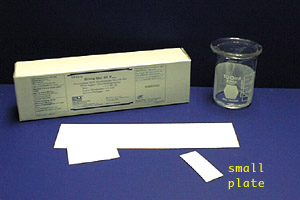
Shown in the photo to the left is a box of TLC plates, a large un-cut TLC sheet, and a small TLC plate which has been cut to a convenient size. Plates will usually be cut and ready for you when you come to lab.
Handle the plates carefully so that you do not disturb the coating of adsorbent or get them dirty.
Measure 0.5 cm from the bottom of the plate. Take care not to press so hard with the pencil that you disturb the adsorbent.

Using a pencil, draw a line across the plate at the 0.5 cm mark. This is the origin: the line on which you will "spot" the plate.
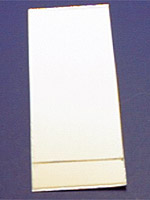
It's kind of hard to see the pencil line in the above photos, so here is a close-up of how the plate looks after the line has been drawn.
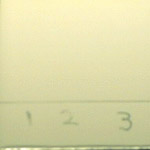
Under the line, mark lightly the name of the samples you will spot on the plate, or mark numbers for time points. Leave enough space between the samples so that they do not run together, about 4 samples on a 5 cm wide plate is advised. Use a pencil and do not press down so hard that you disturb the surface of the plate. A close-up of a plate labeled "1 2 3" is shown to the right.
3. Spot the TLC plate
The sample to be analyzed is added to the plate in a process called "spotting".
If the sample is not already in solution, dissolve about 1 mg in a few drops of a volatile solvent such as hexanes, ethyl acetate, or methylene chloride. As a rule of thumb, a concentration of "1%" or "1 gram in 100 mL" usually works well for TLC analysis. If the sample is too concentrated, it will run as a smear or streak; if it is not concentrated enough, you will see nothing on the plate. The "rule of thumb" above is usually a good estimate, however, sometimes only a process trial and error (as in, do it over) will result in well-sized, easy to read spots.
add a few drops of solvent . . .
. . . swirl until dissolved
The solution is applied to the TLC plate with a 1µL microcap.
Not every organic lab uses microcaps to spot plates; some use drawn-out pipets. We have chosen the microcaps from experience in working with undergraduates; they give consistant sized spots and are convenient. They are a bit expensive, at about $5 for 100. If you use a new one for each spot, you could go through 10-20 in a single lab period. Environmentally and financially, it is much better to reuse them by rinsing between spots. Directions for rinsing and reusing microcaps are given below.
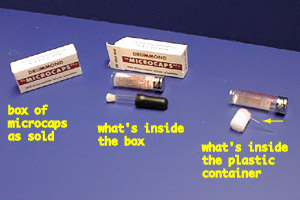
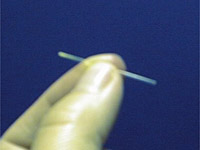
Microcaps come in plastic vials inside red-and-white boxes. If you are opening a new vial, you will need to take off the silver cap, remove the white styrofoam plug, and put the silver cap back on. A small hole in the silver cap allows you to shake out one microcap at a time. Microcaps are very tiny; the arrow points to one, and it is hard to see in the photo.
Take a microcap and dip it into the solution of the sample to be spotted. Then, touch the end of the microcap gently to the adsorbent on the origin in the place which you have marked for the sample. Let all of the contents of the microcap run onto the plate. Be careful not to disturb the coating of adsorbent.
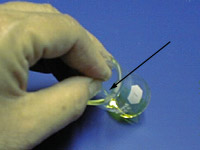
dip the microcap into solution - the arrow points to the microcap, it is tiny and hard to see
make sure it is filled - hold it up to the light if necessary
touch the filled microcap to TLC plate to spot it - make sure you watch to see that all the liquid has drained from the microcap

rinse the microcap with clean solvent by first filling it . . .
. . . and then draining it by touching it to a paper towel
do this rinse process 3 times!
If the microcap breaks or clogs, you may obtain a new one. The microcaps should be cleaned and re-used whenever possible both because this is an environmentally sound practice and because they are relatively expensive.
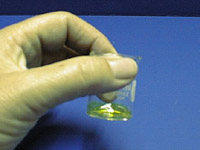
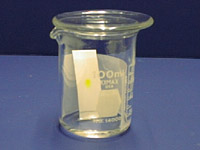
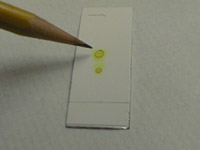
here's the TLC plate, spotted and ready to be developed
4. Develop the plate.
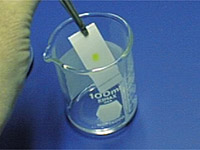
Place the prepared TLC plate in the developing beaker, cover the beaker with the watch glass, and leave it undisturbed on your bench top. Run until the solvent is about half a centimeter below the top of the plate (see photos below).
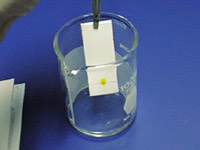
place the TLC plate in the developing container - make sure the solvent is not too deep
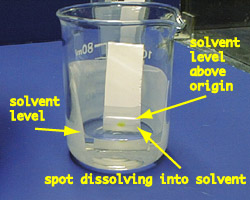
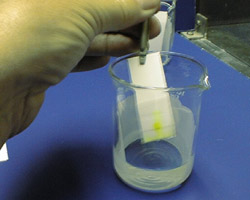
photo shows how the yellow compound is running into the solvent when lifted from the developing jar
The solvent will rise up the TLC plate by capillary action. In this photo, it is not quite halfway up the plate.
In this photo, it is about 3/4 of the way up the plate.
The solvent front is about half a cm below the top of the plate - it is now ready to be removed.
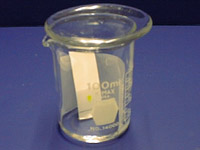
Remove the plate from the beaker.
quickly mark a line across the plate at the solvent front with a pencil
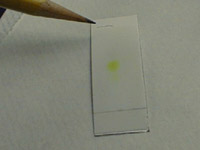
Allow the solvent to evaporate completely from the plate. If the spots are colored, simply mark them with a pencil.
5. Visualize the spots
If your samples are colored, mark them before they fade by circling them lightly with a pencil (see photo above).
Most samples are not colored and need to be visualized with a UV lamp. Hold a UV lamp over the plate and mark any spots which you see lightly with a pencil.
Beware! UV light is damaging both to your eyes and to your skin! Make sure you are wearing your goggles and do not look directly into the lamp. Protect your skin by wearing gloves.
If the TLC plate runs samples which are too concentrated, the spots will be streaked and/or run together. If this happens, you will have to start over with a more dilute sample to spot and run on a TLC plate.
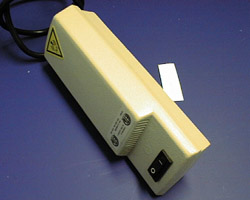
this is a UV lamp
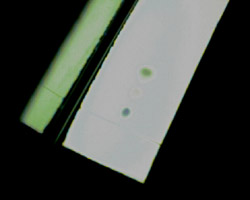
here are two proper sized spots, viewed under a UV lamp (you would circle these while viewing them)

The plate to the left shows three compounds run at three different concentrations. The middle and right plate show reasonable spots; the left plate is run too concentrated and the spots are running together, making it difficult to get a good and accurate Rf reading.
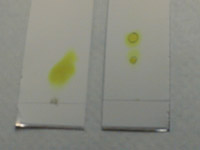
Here's what overloaded plates look like compared to well-spotted plates. The plate on the left has a large yellow smear; this smear contains the same two compounds which are nicely resolved on the plate next to it. The plate to the far right is a UV visualization of the same overloaded plate.

同一种微生物在不同的国家或地区常有不同的名称,这就是俗名。俗名在局部地区可以使用,但不便于交流,容易引起混乱。为在世界范围...
人是能够思想的苇草 帕斯卡尔 人只不过是一根苇草,是自然界最脆弱的东西;但他是一根能思想的苇草。用不着整个宇宙都拿起武器来才能...

以下内容转载自小木虫 哥特复兴VS [1]Han-Dong Sun,Yi-Ming Shi:LCUV-Guided Isolation and Structure Determination of Lancolide E: A Nortriterpenoid with a Tetracyclo [...

1 目的 规范TENSOR 27红外光谱仪的操作程序,正确使用仪器,保证设备安全和检测的顺利进行。 2 使用环境 电源电压:85~265V,47~65Hz 温度范...